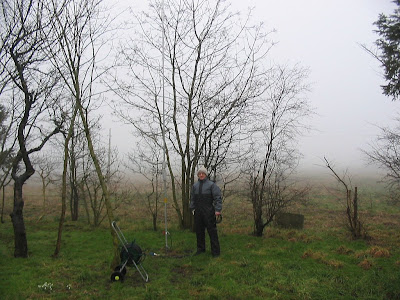
After my DX-88 died in a winter storm, I have decided to give the Butternut HF2V a try. This antenna is a 10 meter long vertical for 80 and 40, with extensions available for the 160 and 30 meter bands. I was rather curious about it since this is the only vertical antenna that provides the four lower bands in one package. Moreover, having used the HF6V previously, I had quite high expectations to this one. Although rather expensive, my success with antenna have been very satisfactory so far. As a bonus it even works well on 15 meter band with flat 1.2 SWR between 20-22 MHz.
Assembly
The Base Antenna
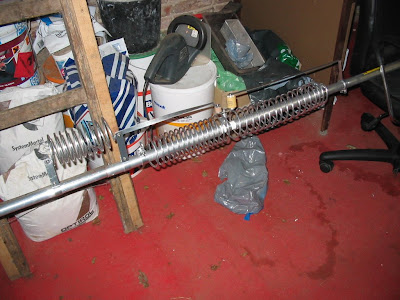
The basic two-band antenna comes well packages and consists of eight aluminum tubes, two coils (one for 80 and one for 40) plus a bunch of loose things like capacitors, screws, nuts, and so on. All tubes are of the same length but different diameter so they fit into each other like a telescopic antenna – very clever. Moreover, the tubes are rather thin and so the whole package is very lightweight.
The assembly instructions are detailed and understandable, however, it could be improved with a few illustrations here and there. I did not have any trouble following the instructions. The antenna is in fact rather simple to assemble compared to for example the DX-88. I guess it took me somewhere around three hours to assemble the base antenna and add the 30 meter extension. Besides fitting the tubes together, you have to mount two (or three) coils and two capacitors as you can see on the picture below.
 |
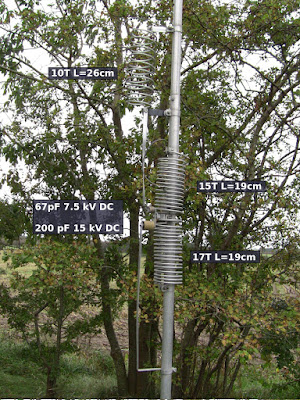
| From Butternut HF2V |
The antenna is long and light. Therefore, it will bend a lot while you erect it. But don’t worry; it can handle it. Actually, due to its loght weight it was very easy to erect the antenna alone (I am no big strong man, hi). For the same reason, it will swing quite a lot even in light wind and four non-metalic guying wires are highly advisable. Unfortunately, there is no accessory to mount guying wires so you’ll have to come up with a solution yourself.
The 30m Extension
The 30 meter extension consists of a coil, a shorting strip, a capacitor, and a 75 ohm coax feed. It is mounted easily and you don’t even need to disassemble the tubes. While the antenna tubes go through the 80 and 40 meter coils, the 30 meter coil is mounted on the side of the antenna above the 40 meter coil and it is connected to the connection between the 80 and 40 coils via a capacitor. This can also be seen on the picture above.
 |
| From Butternut HF2V |
The 160m Extension
The 160m kit was the last part I added. I left it for last because I wanted to use the antenna before messing too much with the settings. Adding the 160m extension was easy and retuning it was not that difficult either.
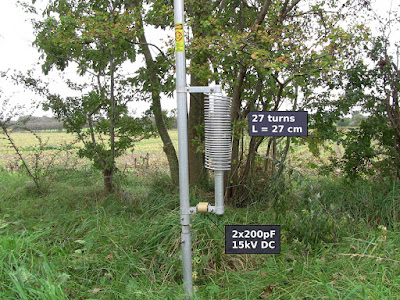 |
| From Butternut HF2V |
The Ground Radial Kit
For some reason I decided to buy the ground radial kit, too. It is basically just a bunch of long wires you have to connect to the ground rod. The price was EUR 70 (rather expensive), however, you get a lot of wires and they are well prepared and ready to be mounted for that money. I didn’t regret buying it.
Now that you know how easy it is to assemble the HF2V, you may want to continue and read about tuning or how it is on the air.
Update from April 3, 2010
After 3+ years of great performance it was time to perform a maintenance check. you can read about it in this article.
HF2V on the Air Videos
I have also recorded some videos showing the signals booming in from the HF2V. There is one video for 160, 80, 40, 30 and 20 meter bands each. I skipped the 15 and 10 meter bands due to the current solar activity – these bands are pretty much dead at my location. Yo can also watch the videos in higher resolution on my YouTube channel.